

Have you ever found yourself sharing contact details with a prospect in a CSV file?
Saving a CSV file on the phone is a complicated, lengthy, and boring process nobody wants to go through.
Networking shouldn’t feel this exhausting.
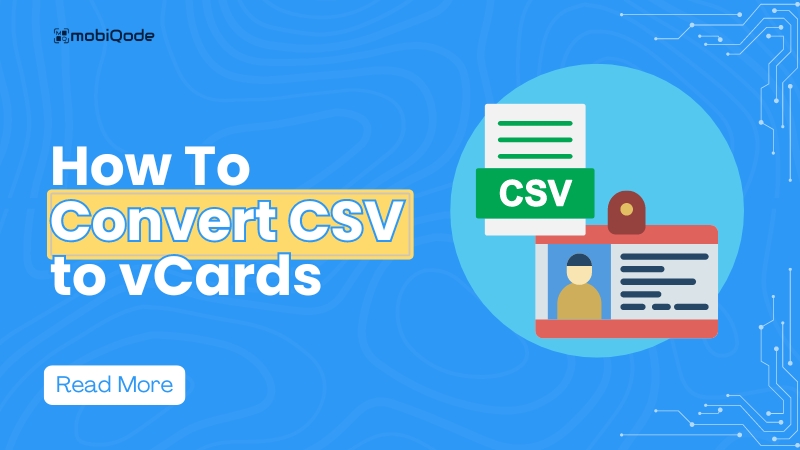
Instead, you should convert your CSV to vCard and focus on creating a seamless contact-sharing experience with prospects.
If this convinces you to create your personalized vCard, look at our step-by-step guide on how to convert your CSV to vCards.
What is a vCard?
vCard, a digital file format, helps you store and exchange contact information with other professionals. It mainly displays your name, phone number, email address, company name, designation, website URL, and more. vCards can be easily customized to fit your branding. You can share via emails, or people can quickly scan your vCard to save your contact information.
Difference between CSV and vCard
CSV
CSV, short for Comma-Separated Values, stores massive data in a simple spreadsheet format. To understand the concept better, imagine rows and columns separated by commas. It is a straightforward data storage format.

Source: Pinterest
vCard
vCards are not just your regular digital business cards that store all contact details—names, numbers, emails, photos, and logos. They help you network faster, showcase your branding to prospects, and even help you manage your data better. Moreover, if you create a dynamic vCard, you can edit it even after a generation. You can add the latest links and point your prospects to your recent work.
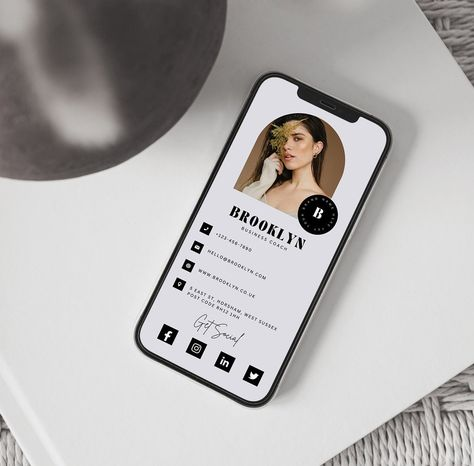
Source: Pinterest
The big difference? CSV is all about raw data. Importing that raw data can be challenging unless the contact information is added to a vCard.
vCards are tailor-made for sharing and using contact information on the go.
Why use a vCard instead of a CSV?
Why still bother yourself with CSV to VCF conversion? There are many reasons vCard is better than CSV for storing your contact details. We’ve listed a few to help you learn.
- Sharing becomes easier: Professionals can share their contact details swiftly with prospects with a simple QR code scan. You can add these little codes to your vCard when generating it
- Stores more information: You can share more information besides basic contact details via vCard. You can add videos of your work, portfolio links, website links to help prospects look into all the services you can offer
- Offers compatibility with multiple devices: Unlike CSV files, which have to be formatted according to the device they are being used on, vCards are compatible with all devices. Whether you run Android, Windows, or iOS mobile devices, vCards can be easily scanned and viewed in seconds
CSVs can be shared via email, but prospects may need help accessing the information or finding the required information in one go. However, vCards allow you to share information that can be accessed in one go and help prospects learn about your services in detail.
How to convert CSV to vCard
Converting your CSV file to vCard format is simpler than you think. Here’s how you do it in 6 steps:
- Prepare your CSV file by formatting clear column headers
- Choose one of the below-mentioned conversion methods:
- Use an online converter solution
- Write a simple programming script
- Employ desktop software designed for CSV to vCard conversion
- Use an online converter solution
- Once uploaded to your chosen converter, map CSV columns to vCard fields (e.g., “Name” to “FN” for Full Name)
- With all the fields updated, start the conversion process
- Next, download the final vCard file output from the converter
- Finally, test out your vCard by importing it into your preferred contact management app
How to generate a custom vCard from scratch
1. Choose a vCard generator
Your first step is to assess what QR code capabilities you want your vCard generator to have and choose the product that matches your needs.
2. Create your vCard
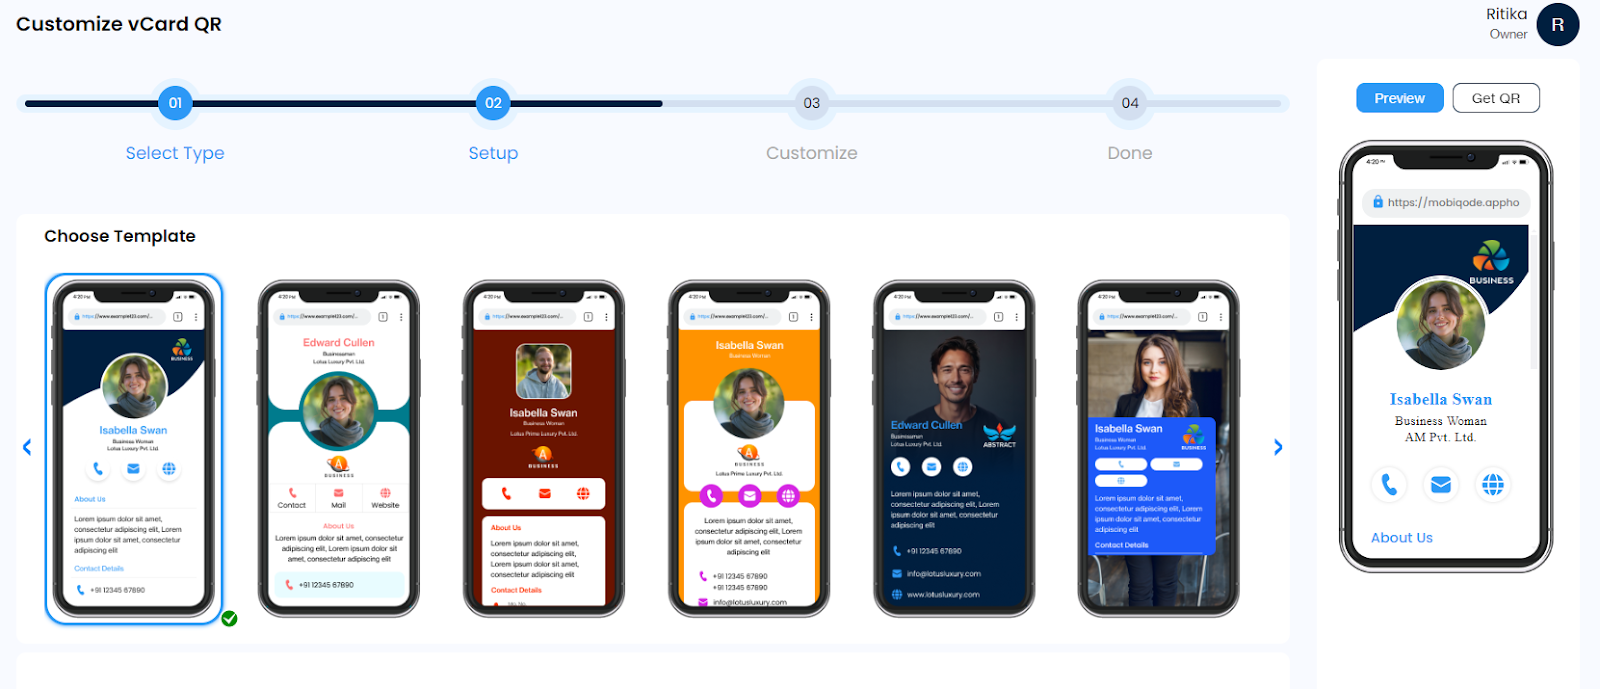
Once you choose the best vCard QR code generator, log in to your account and select the create option in the tool. Here, we’ve used screenshots from Mobiqode to help you understand the process better.
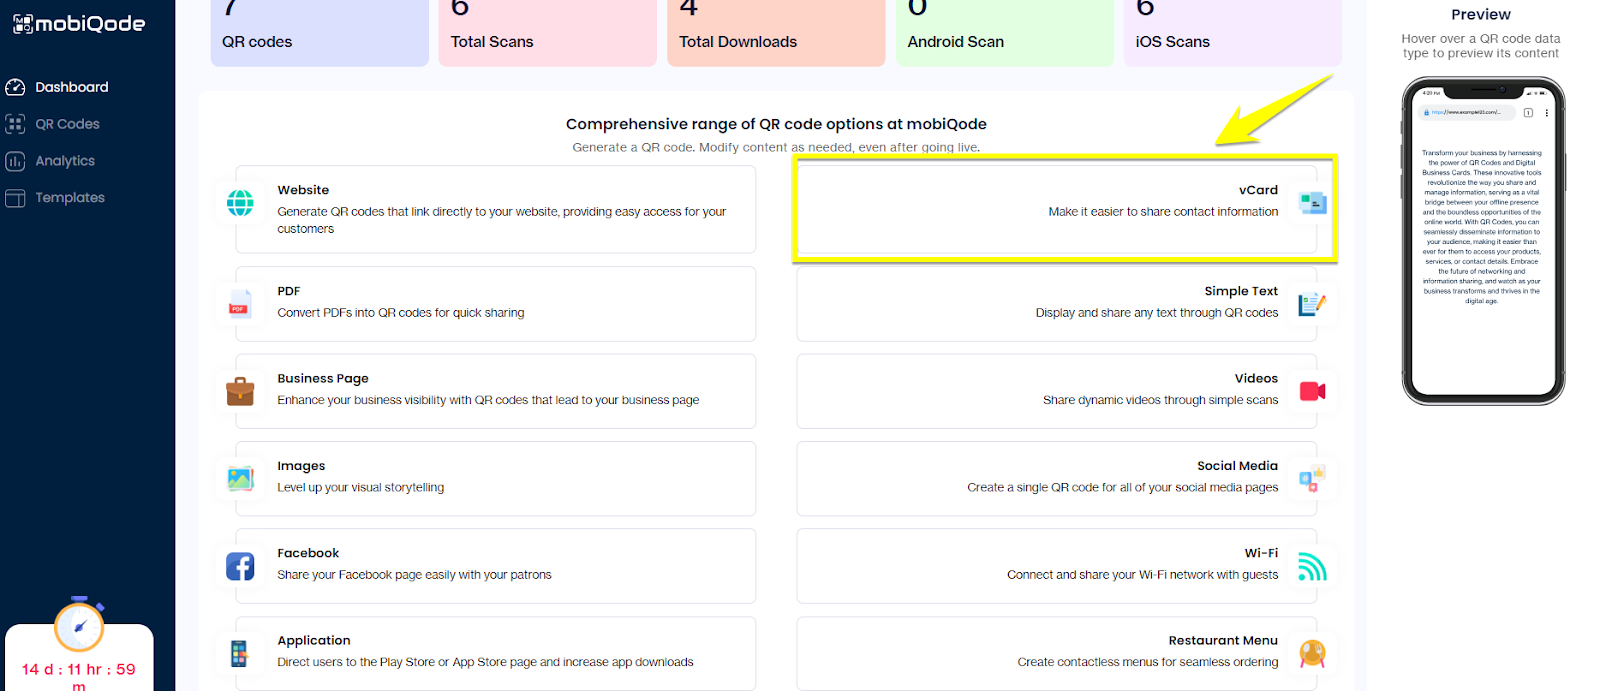
Mobiqode offers fully customizable templates and the option to create one from scratch.
3. Add your contact details
To get started, add essential information like your name, phone number, email address, website, and company name. To show more vital information in your vCard, you can also add your company’s logo and job title.
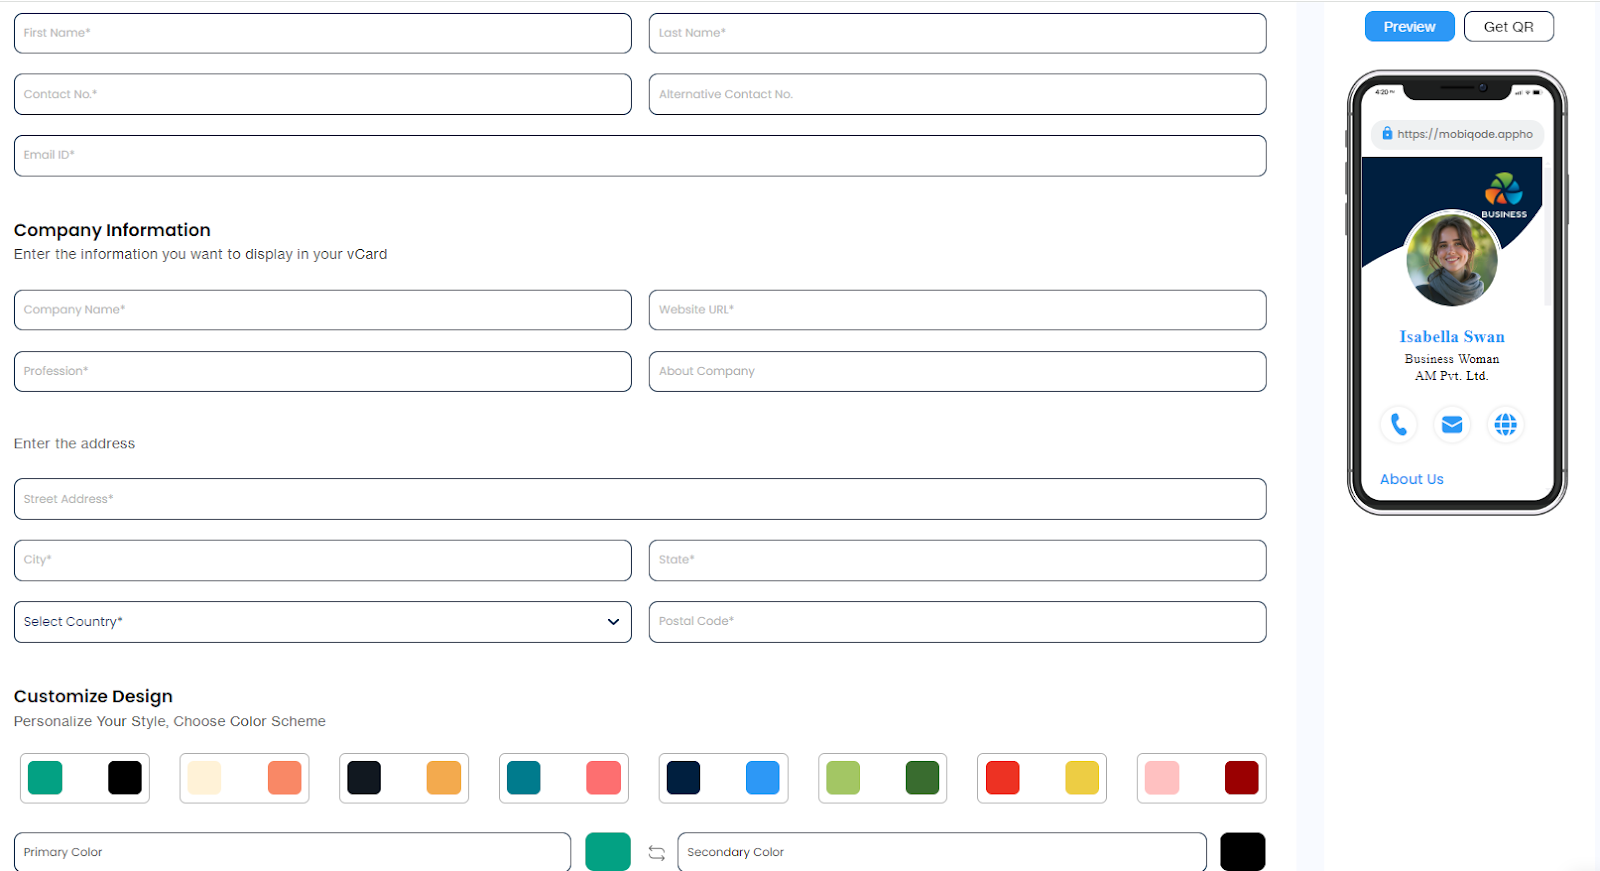
*Note: You can add social profile links to help prospects know you better.
4. Personalize and generate a QR code
Your next step is to customize the fonts and colors of the vCard to match your brand. However, make sure the card is readable. At the same time, generate a QR code that, upon scanning, helps prospects view all your contact information.
Mobiqode helps you create a dynamic QR code that can be edited anytime. It even lets you customize the look of the QR code while maintaining scannability.
5. Review, test, save, and share
Once you create the vCard, you need to review the information added and test it on all devices to see if it can be scanned and read quickly. Once that is done, you can simply save the card and share it via email or let others scan it when they meet you.
Convert your CSVs to vCards for better information sharing
We’ve understood that converting CSV to vCards simplifies contact management and makes it easier to share information across devices. The process is straightforward whether you use online tools, desktop software, or custom scripts. But to create vCards, you need a QR code generator that’s great at making one from scratch or offers templates to help you build one in one go.
If you don’t want to experiment with countless options in the market, we suggest you give Mobiqode a chance. This tool has a simple UI that makes it easier for users to create their vCards faster. You can sign up for a 14-day free trial to explore its strengths at length.
